A maker coin is a simple yet affected way to show off your creativity and design skills and with a little ingenuity it can easily become a networking opportunity. So when I decided to create my first maker coin I wanted to go about it a different way and see if I could leverage the power of AI to bring my idea to reality. The first thing I needed to do was figure out the dimensions of my design. Surprisingly enough I had just the item laying around that I wanted to base my design on.
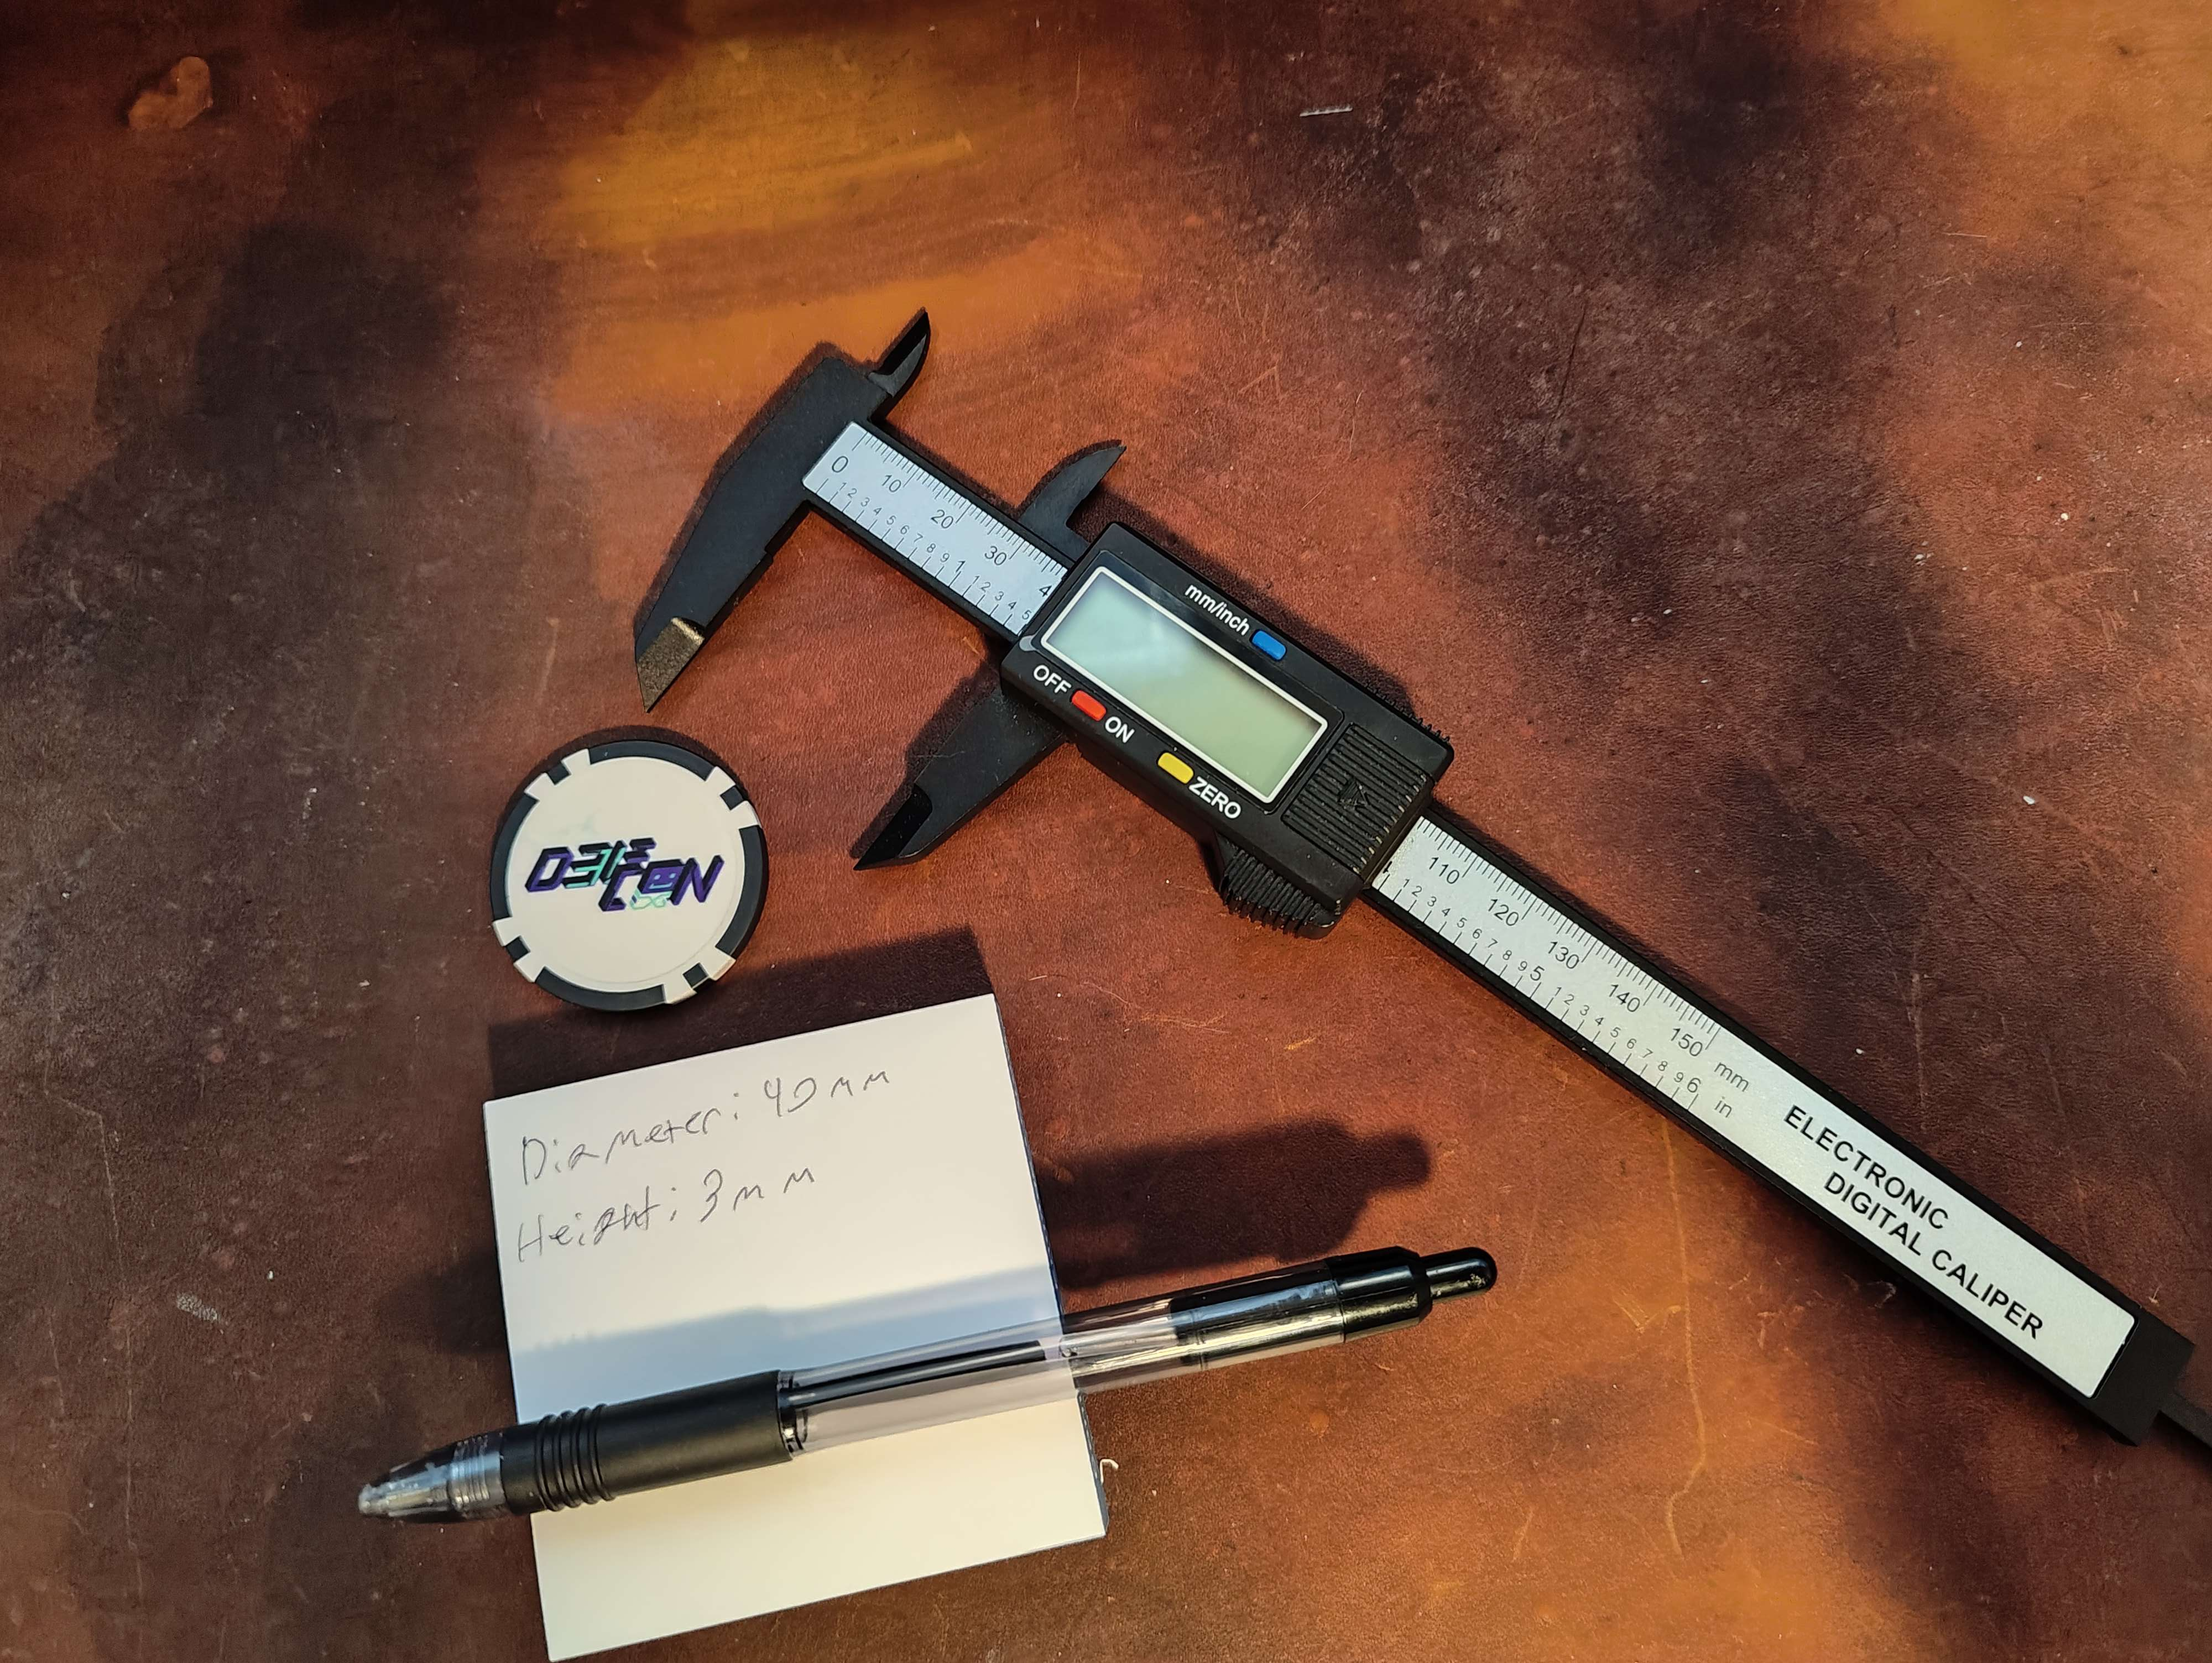
After taking some measurements from my poker chip, coming up with the color palette that I wanted to use, and the general theme of the maker coin. I headed over to ChatGPT to see if it could take all of this from concept to reality. Here is how it went.
Step 1: Concept Development Link to heading
I stated with a simple idea. I wanted a cyberpunk themed chip. I believed this concept to be minimal but bold. The color palette I ended up settled on was light blue, black, and white. My first prompt was to instruct ChatGPT to act as a professional graphic designer and help me come up with my first sketch.
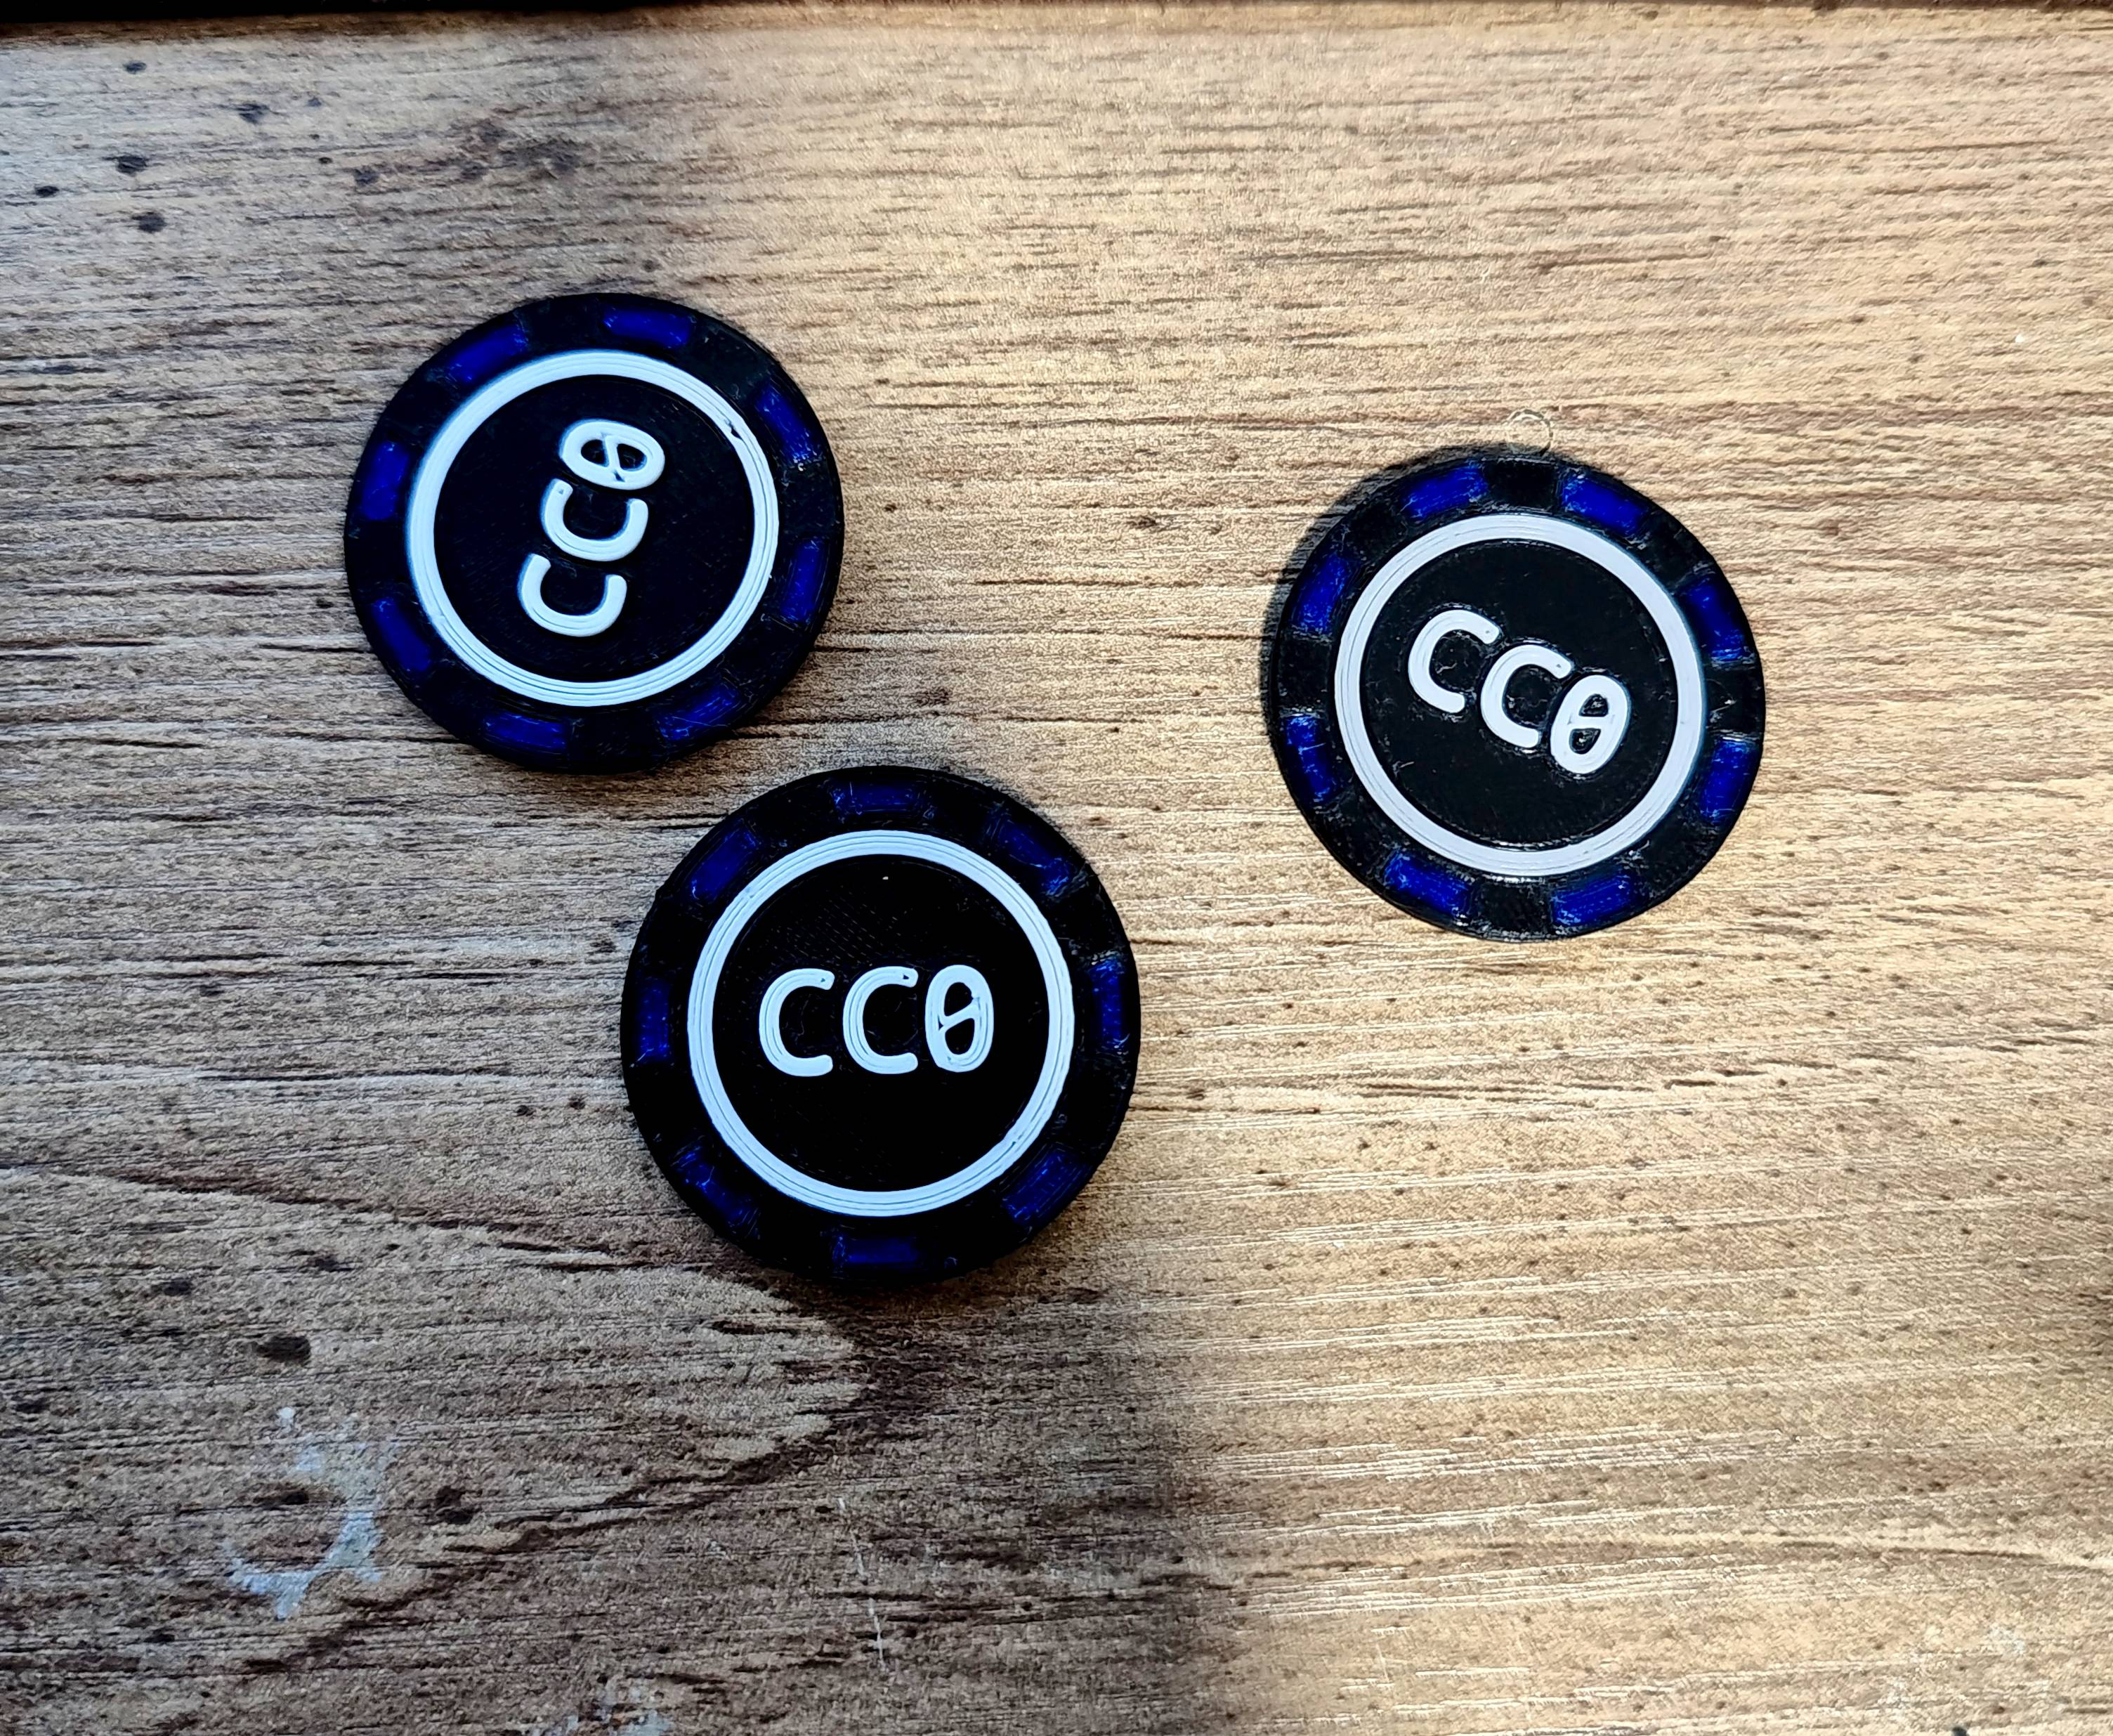
“Act as a professional graphics designer. I want you to help me create a maker coin. This design should be in a circular layout mimicking a poker chip, the background should be a circuit board style line art, there should be two rings (one inside, one outside) that have an alternating block pattern, lastly the center of the chip should contain the text CC0”
After a few revisions I finally settled on a design that I like. I was quite pleased with everything so far. Something that would normally take days now only takes me a couple of hours.

Step 2: Vector Conversion Link to heading
Now that I had a final image, the next step was to convert it into a vector graphic. I know that I wanted this model to support multicolored printing. So ensuring that each item could be carefully separated into individual shape was essential to this design. Since I know that I was going to be using TinkerCAD at some point I decided that the best format to use was an SVG.
Step 3: Generating the STL for 3D Printing Link to heading
The final step was transforming the design into a 3D-printable STL file. ChatGPT assisted by taking the image and generating a height map to extrude the shapes as raised features. I got an STL with the full chip layout, including distinct layers ready for color slicing in tools like Prusa Slicer, Bambu Studio and Orca
If I wanted to produce a multicolor version, I could simply print in layers or use a multi-material printer.
🛠️ Reflections on the Process Link to heading
Designing a maker coin with AI felt like having a creative collaborator on call 24/7. I could describe changes, test design ideas, and even get STL-ready code and files without opening a dozen software apps.
What surprised me most was how well AI handled the transition between 2D concept art and 3D modeling. With a few prompts, I could turn an idea into a physical object—ready to print and share.
Whether you’re a maker, designer, or hobbyist, AI tools like ChatGPT and image generators can seriously streamline your creative workflow. This project was just one example—but the potential is limitless.